Google+
Showing posts with label craft. Show all posts

DIY A Doll's Valentine's Day Box of Chocolates

Today is Multicultural Children's Book Day! Be sure to check out all the great book reviews!
Note: Links are provided for your convenience, but I receive no compensation.

While exploring one of my favorite craft stores, The Paper Source, I found these cute little heart boxes that looked like the right proportions for a doll's box of chocolate for Valentine's Day. I bought one for Hazel's dolls. Hazel of course wanted to have four. One for each doll. I bought her three more with conditions of helping clean the house today since we are snowed in. First we painted the box red both inside and out. I was going to add ribbons and flowers, but we have not gotten that far yet.

Big Red Kangaroo Book Review

Have you entered my current giveaway for a wooden watch?


Disclosure: Candlewick Press gave me a copy of this book free of charge to review. All opinions in my review are my own and I did not receive any other compensation. As in all my reviews I am providing links for your ease, but receive no compensation.

http://www.candlewick.com/cat.asp?browse=Title&mode=book&isbn=0763670758&pix=n
 We are so excited to share this fun book with you today. Big Red Kangaroo by Claire Saxby is a wonderful book about red kangaroos. It was released last week. In similar fashion to Grandma Elephant's In Charge (which I reviewed last month), Big Red Kangaroo follows a dominant male red kangaroo with his mob but also gives facts about red kangaroos in side notes. The dominant male kangaroo is responsible for the safety and livelihood of its mob which is made up of females and joeys (baby kangaroos). Young male adult kangaroos will challenge the dominant male for the mob. The dominant male will have to fight off or scare off the challengers. He also has to help find the safe places for the mob to eat and rest during the hot sunny days. It is so interesting to learn about the harsh climates these animals live in. 

DIY Doll Camping Equipment

Happy New Year!! I hope all of you have a healthy and successful 2015!! I know I am planning some exciting things for Crafty Moms Share and hope you will stay tuned. (One of the best ways to stay tuned is to subscribe to Crafty Moms Share! See the ways to do so in the right column.) I am lining up some amazing giveaways and reviews as well as fun crafts and activities to do with your child(ren). 

Today I thought I would share the main part of Hazel's birthday present from us. This year's family birthday party was American Girl Doll themed, so it seemed appropriate to give her something for her dolls. We gave her the beautiful carrying case with murphy bed from Queens Treasure for Christmas with a homemade quilt. When we were at the American Girl Doll Store for my birthday this summer, Hazel fell in love with the tent they sell. However I was not going to spend $85 on it. I figured I could come up with some way to make one. I happened to find roasting sticks on clearance for a $1 at the end of the summer and bought them thinking they could be the poles for the tent. I also saw this great tutorial over at The Frugal Crafter using cardboard to stiffen the sides, but I really wanted her tent to have a window like the one at the American Girl Doll Store. After a couple of tries I got a tent. It is not perfect and I now know what I would do differently. The first would be not bothering with the "poles". 

Around the World in 12 Dishes: Exploring Cuba

Have you entered my giveaway for 4 Christmas DVDs yet? It is ending soon!!


This month we are exploring Cuba with Around the World in 12 Dishes. I was rather excited to learn more about Cuba since it is such a mysterious country to me. With all the trade and travel restrictions it seems like an unknown place. We have explored Cuba with books, stories, music, crafts and food from home. To learn more about Cuba and see more resources check out my introduction post at the Around the World in 12 Dishes blog. We had also learned a bit about Cuba during the Hispanic Heritage Month when we read about Celia Cruz, a Cuban-American salsa singer. 

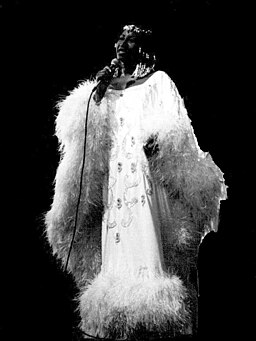
Celia Cruz 1
Celia Cruz By Lionel Decoster (Own work) 
[GFDL or CC-BY-SA-3.0-2.5-2.0-1.0], via Wikimedia Commons

Friday Fruit Explorations: Pumpkins


Today we are sharing our pumpkin exploration! Now Hazel loves pumpkins. She loves pumpkin bread, pumpkin muffins, pumpkin pancakes, and so much more! She insisted on growing pumpkins in our garden. We planted sugar pumpkins only this year. Last year the white pumpkins took over the garden and since we had used seeds from a white pumpkin the previous year they were orange on our vines. (Many of the new fruits and vegetables only grow that way for the first year.) We picked our first pumpkin and wanted to make pumpkin bread with it.

Multicultural Monday: The Last Kappa of Old Japan By Sunny Seki Book Review and Craft


Disclosure: Tuttle Publishing gave me a copy of these products free of charge. All opinions in my review are my own and I did not receive any other compensation. They also sent me a copy to giveaway! As in all my reviews I am providing links for your ease, but receive no compensation.
Last week I reviewed a wonderful Japanese book, Yuko-Chan and the Daruma Doll for World Sight Day.  Tuttle Publishing sent me two copies of the book so I could offer one to giveaway and they included another book by the same author, Sunny Seki, called The Last Kappa of Old Japan for me to review. This is a wonderful book that introduces the popular Japanese legend of kappas. It is also a book I will pull out again for Earth Day. I actually enjoyed this one more than Yuko-Chan and the Daruma Doll and that is high praise since I really liked Yuko-Chan as well.

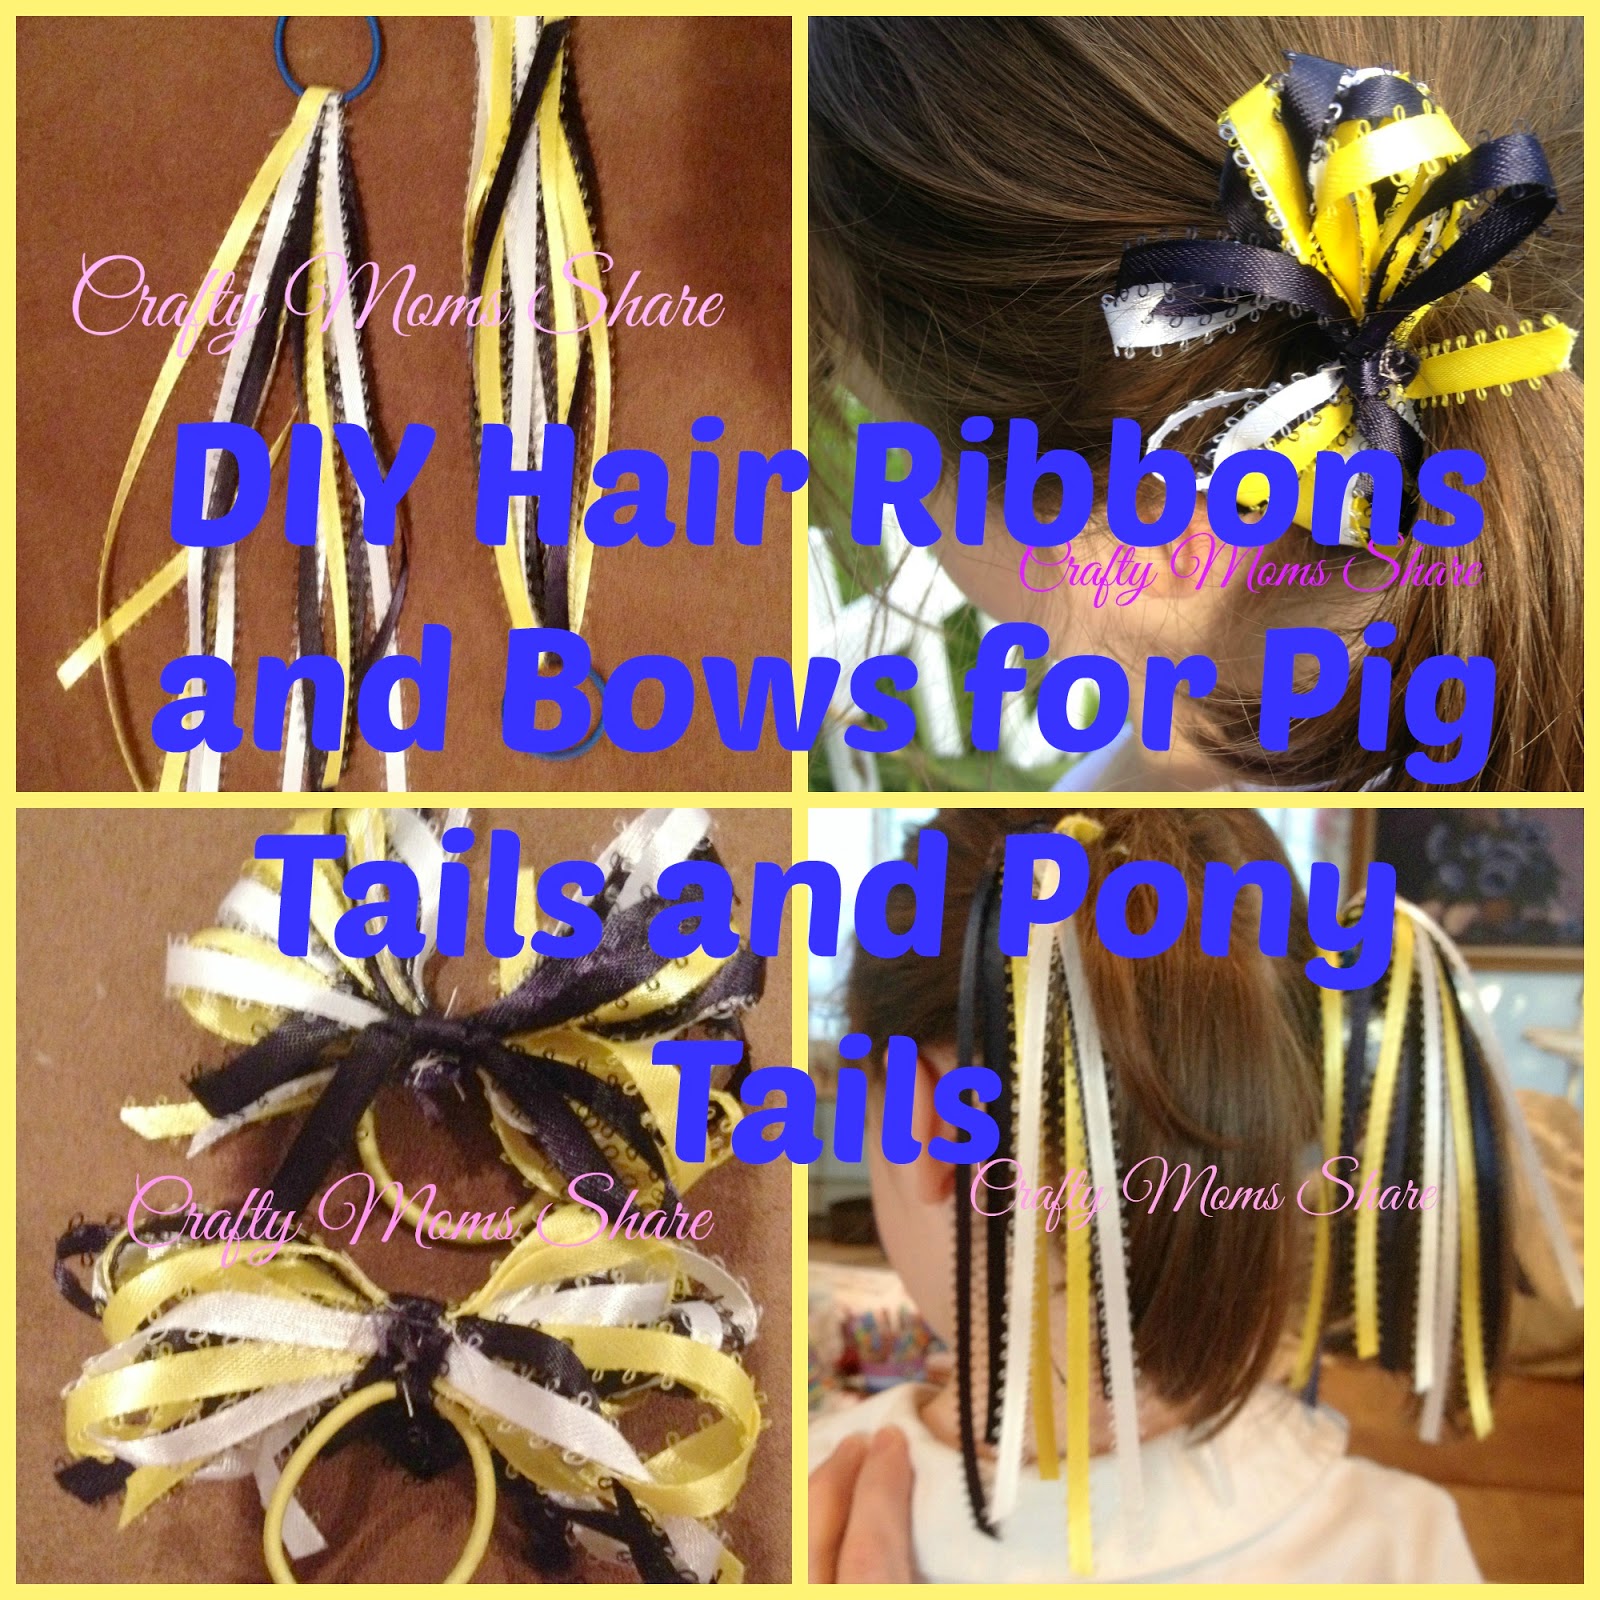
DIY Hair Ribbons for Pony Tails and Pig Tails


With the warm weather Hazel likes to wear her hair up. With the school uniforms, I wanted to have something nice to put in it that would match the uniforms. Her school colors and uniforms are navy, yellow and white. I bought a package of hair elastics and some ribbons of those colors. Joann Fabrics has the ribbons for fifty cents a spool. I started making what I am calling hair streamers. I bought her ones similar to this to match a dress at Gymboree. They were literally a bunch of ribbons folded over the elastic and sewn into place. I knew I could do this. 


I cut two of each color and folded them in half and sewed them together on my machine. Very easy!! Hazel loves them and has been getting many compliments on them.


For the bows, I took the three colors and wound them several times around my hand. Then I took a piece of one (I chose navy) and wrapped it around the center of the other ribbons and the elastic. I sewed the ends of this ribbon and then I sewed down the center of it so the bow could not pull out on either side.
Again she loves them and has been getting compliments on them!!
Now putting up her hair is easy each morning and I am not searching for matching elastics and if I put ribbons in they are not falling out before we get to school. A perfect and cheap solution!

For more hair ideas check out my ribbon barrettes and other hair things Pinterest Board.

Easy Cup Owl Craft


Well yesterday we went to Lakeshore Learning for their free craft. They had the kids making owl pencil holders out of styrofoam cups. (If you click the link above and then click the picture of the owl pencil holder it gives you their instructions.) We made three. First Hazel made a brown one since the craft leader told her to color the cup first.

First Day of School--Kindergarten

Congratulations to Candice B. for winning the Octonauts: Deep Sea Mission DVD!!


So today was Hazel's first day of school and she started kindergarten. I had big plans to come home and work on some great posts and crafts, but the truth is I had a hard time focusing. My great post is waiting for tomorrow. For today I am going to share a bit about what we did for the first day to be special and some first day traditions! First we started with the picture for the first day. I used one of the wonderful first day of school printables that Krafts and Kiddos shared and were featured at Sharing Saturday a couple of weeks ago.

Olaf Mugs for Frozen Party


Hazel has decided her birthday party will be a Frozen theme this year. I saw in a few places making easy Olaf mugs and t-shirts. While pulling out some supplies for our mermaid play date, I found some white mugs I had bought for Hazel's Tea for 2 Birthday Party. We had left out paints for the older kids to decorate them. We only had one taker so I have six left over. Although painting and drawing are not my strong points, I thought I would give it a try. Olaf's face is rather easy. I pulled out my paint markers: black, white, brown, orange and blue.
I started with his mouth outline and then drew the spot for the teeth (which I later enlarged with the white marker). Then I drew the eyes and hairs and finally the carrot for a nose. 
Then on the back I wrote: "I like warm hugs."
The first one I did I thought the mouth was too big, but I actually liked that one better in the end. Our plan is to have a hot chocolate bar with the mugs and then have the kids take the mug home as the favor.
For more Frozen ideas check out:

DIY Canopy for a Princess Bed


For the past year Hazel has been scared of everything. She does not like to be in her room alone or for that matter almost anywhere in our house. One day she told me she might feel better if she had a canopy. Now being a girly girl myself, I had seen this idea on one of those home improvement/design shows and loved it and tried it for myself when I was single. Steve did not really want a canopy over our bed, so we packed it away in case we had a daughter some day. I should add we inherited Hazel's bedroom set from my grandparents (yes, my Grandmother Hazel slept on that bed frame), so we did not buy her a bed. If I had my say and bought one it would have been a canopy bed.

To make this easy canopy for a bed (I guess technically it is half a canopy), you need a wooden curtain rod, two matching small wooden plaques, fabric and screws and anchors for the screws. First cut the wooden rod in half (I obviously did not measure when I did this). Then put the cut edge against each plaque. I glued them, but would recommend screwing them together with flat headed screws (on one of them this eventually had to be done). If you want to paint them (I did) paint them now. Then hang them high above each side of the bed using the wall anchors to make sure the screws stay in the wall and the rods do not fall on top of anyone.


Once hung, hang the fabric over each pole and decorate however you want. I glued fake pink roses into the holes on the ends of the rods and draped over fake ivy. When it was over my bed I also had a string of pink star shaped lights going over it. We decided she didn't need that and kept her star light under the canopy. 


Apparently Pumpkin (one of our cats) approved of it since she does not usually sleep in Hazel's room. And of course Hazel loved it the moment she saw it. We put it up when she was at Nonni's. We told her we had a surprise for her and I told her she had to search for it like and Easter egg. This is her reaction when she saw it.


When I had it as a single woman, my good friend and landlady owned a store. We bought the share fabric wholesale and she gave me a pillowcase that read: "The Princess Sleeps Here." The pillowcase is on one of Hazel's pillows now. Needless to say she loves it all. Here is another view of it from when I was single. This was my winter look for the bed. I wanted to match my newly finished winter quilt.


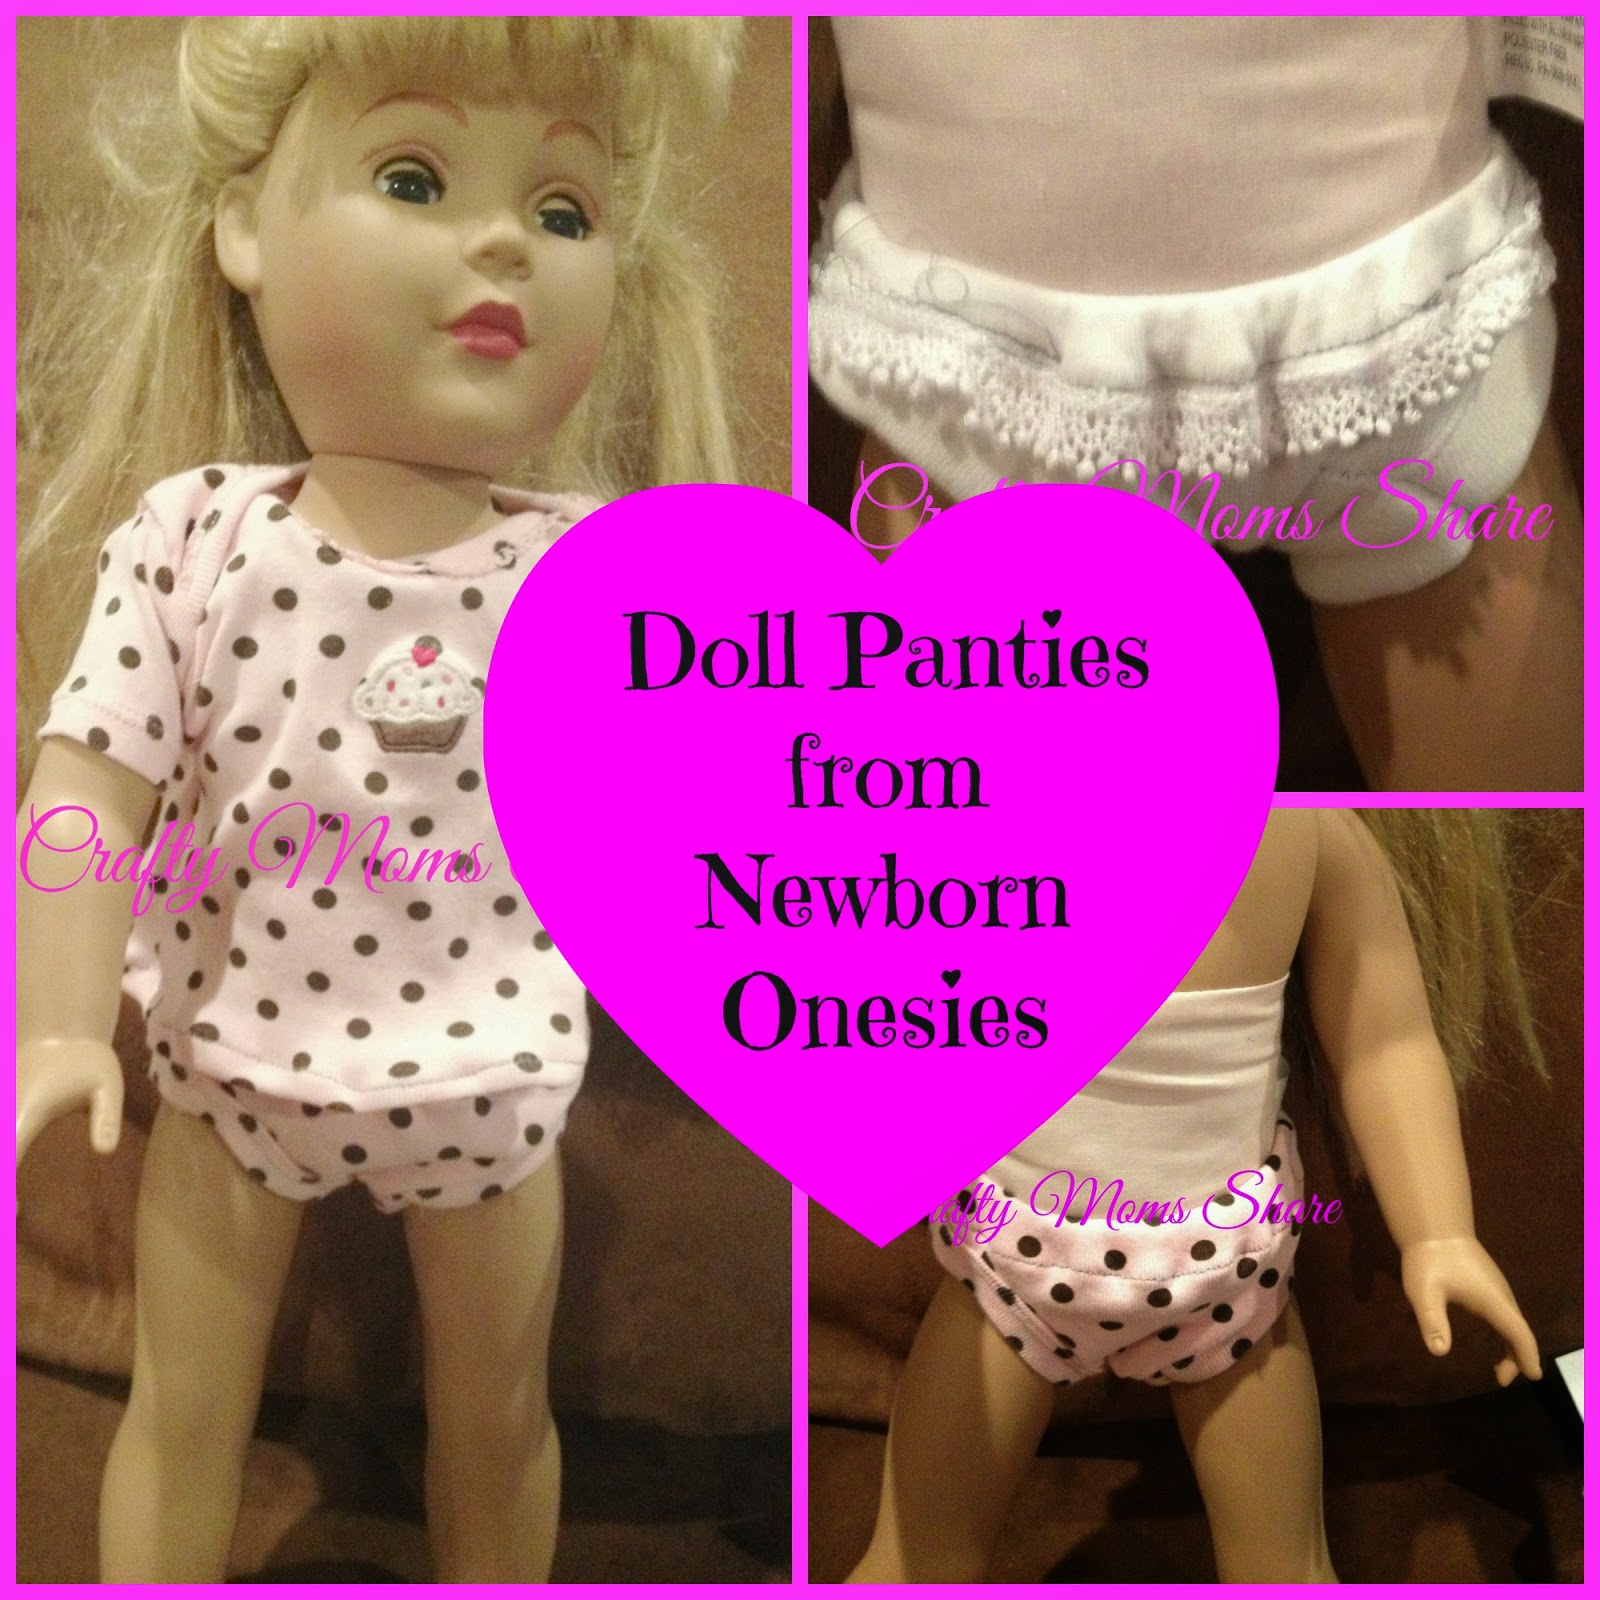
DIY Doll Panties from Onesies And Inserting Elastic Tutorial


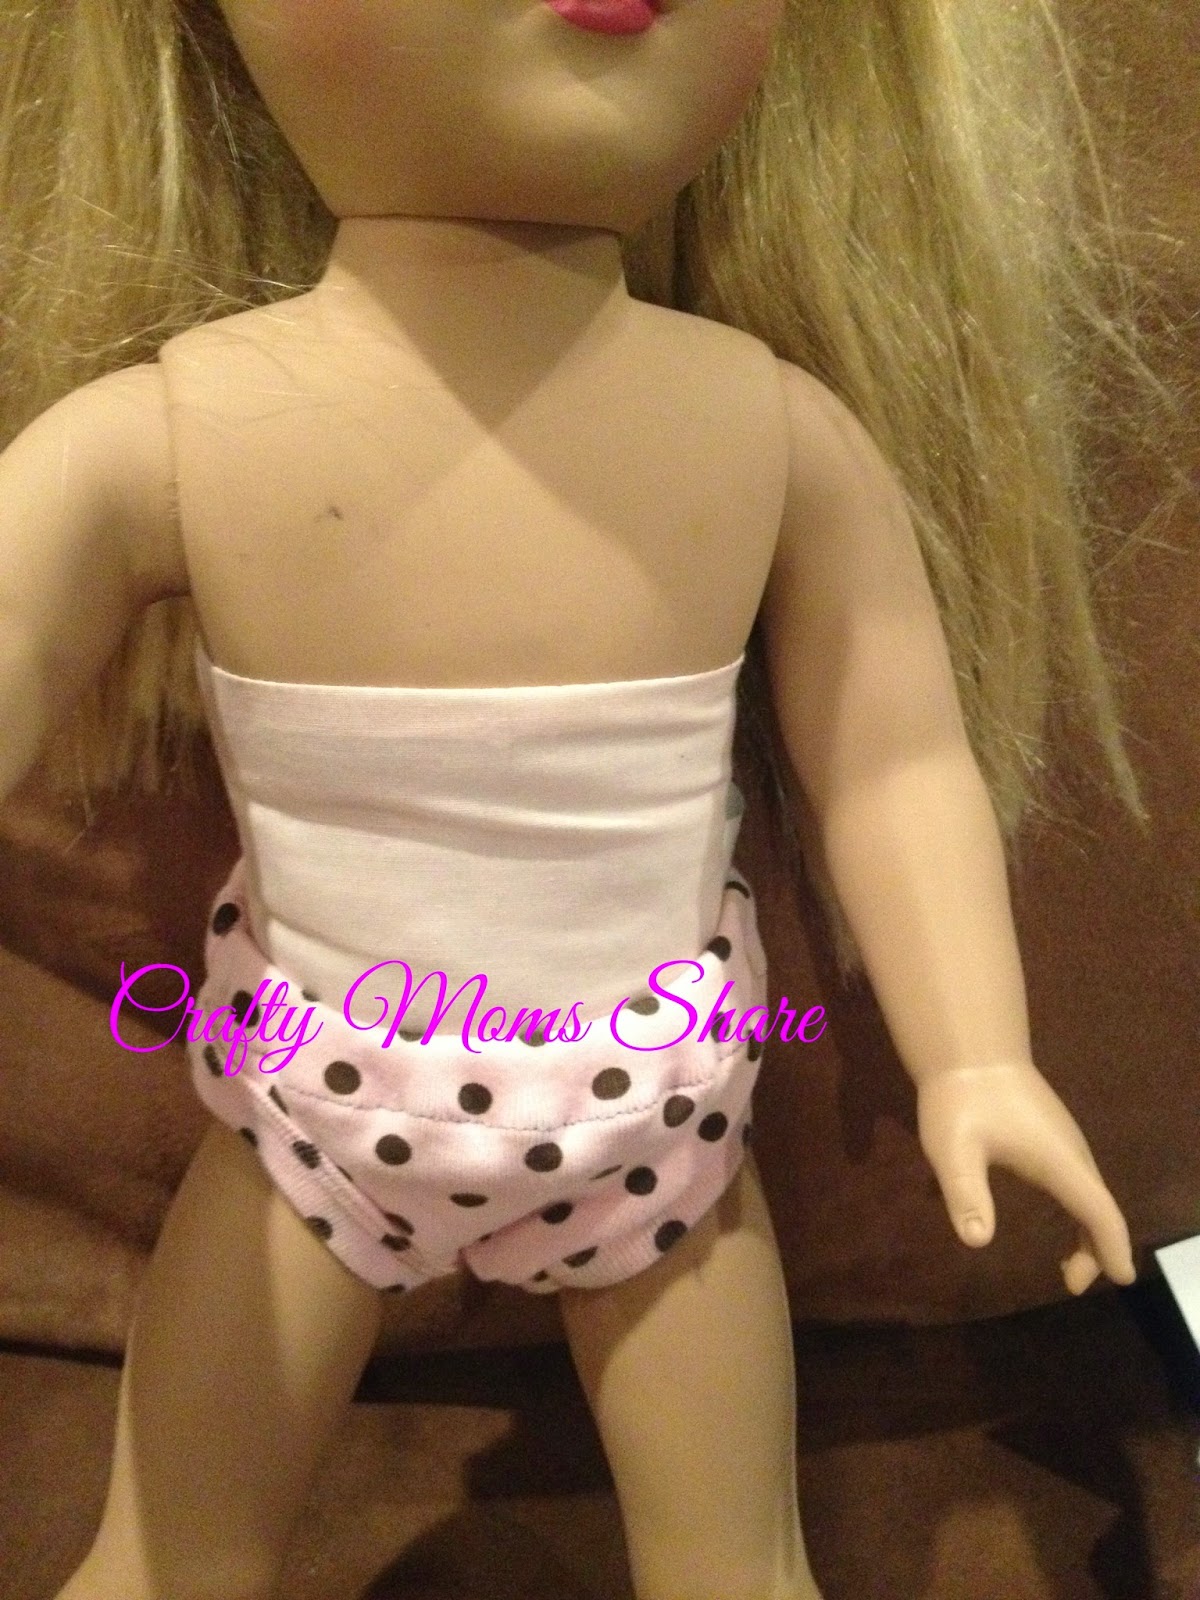
A few weeks ago I showed you how we made doll t-shirts from newborn onesies. Well one  of the things that really bothers me is dolls with no panties and naked dolls. (I hated the stage where we would find naked dolls all over the house. I'm so glad she outgrew that one.) I wanted to buy some panties for Hazel's dolls but was shocked at the prices. I hadn't gotten around to finding a good pattern to make any. Then I saw the bottoms of the newborn onsies that I had used for t-shirts and thought those could be panties. They are pretty easy to make and work as panties. They are not perfect, but since I already had the onesies they are free. So if you have already cut the onesies for a t-shirt you take the bottom and cut the snaps off. I just cut the cuff part off. Then you sew a seam there with right sides together. Next finish the waist seam with a zigzag or rolling seam and fold it down twice so you can fit 1/4-inch elastic through. Sew at the bottom leaving an opening for the elastic.
Next measure the elastic to the dolls waist (American Girl dolls are 10 1/2 inches) and it does not have to be perfect as long as it is not too big. Attach a safety pin to one end and insert the pin through the hole you left in the casing.
Move the safety pin around the casing pulling the elastic through, but make sure you leave a tail of elastic at the opening or you will have to start over. Once all the way around you will have both ends sticking out the opening.
Sew the two ends together to form a loop. Then stick the ends into the casing.
Then stitch the casing closed in the spot that was opened. Turn right side out and you have a pair of doll panties!
And they match one of the doll's t-shirts for perfect underwear combination or pajamas!
I made some for each doll. On the plain white pair I added a little lace to dress them up.
Now I hopefully won't find naked dolls. They can at least have their panties on!

For more doll ideas check out:


Easy Spa Wrap for Dolls from a Washcloth


Today I picked up a pack of eight washcloths for $3.99 at KMart. I had seen spa wraps for 18-inch dolls all over the place and thought those are easy to make and relatively cheap with these washcloths. To make a wrap you need one or two washcloths depending on size of washcloth and doll. small piece of Velcro and two small pieces of ribbon. Since Hazel's dolls just missed being able to use one washcloth (except the BFC one) I used two and made a white stripe in both of the ones I made for the chubbier dolls. To do this, I cut a white washcloth in half and then sewed it with right sides together to the main washcloth.


Then I folded the white so it would add a few inches to the wrap and sewed the end of the white near the seam.


Next I checked the size on the doll and pinned where I wanted to sew the Velcro.

After sewing on the pieces of Velcro which I cut in half lengthwise so it would not be so wide on the doll clothes, I checked on the doll again for the placement of the straps (and the length). I pinned them and sewed them into place. Then the doll is ready for the spa!


The BFC doll's wrap was even easier since I did not have to add the white stripe. I just sewed the Velcro and straps on to it.

Now three of the four dolls are ready for a spa day or a beach day. I will make the fourth one as well. Maybe I should make myself one and just go to the spa.

For more doll ideas check out:

DIY Wooden Doll Table


Continuing with some of our DIY projects for 18-inch dolls, I made Hazel a table for her doll. I had her pick out a plaque at JoAnn Fabrics and Crafts the other day. It was $2.99. For the legs I used clothespins and woman peg dolls. I glued one of each together and let the glue dry and then glued them on. Once the glue dried Hazel wanted to try it out. Here it is with a tea party and her Hazel doll.


Next I painted it white (well actually I reglued some legs since she insisted on taking it to Nonni's and it does not travel well). To make a stronger table you could use spindles instead of my cheap version. 


Then I wanted to share a cheap find. We found this magnetic chalk board that is doll size for $1 at Target, I believe. It came with a piece of chalk.

It is made to put in a locker, but that makes it the right size for dolls. Here it is on the table.


Now her dolls are really ready for their tea party and ice cream party! 

For more doll ideas check out: