Disclosure: I was sent theses products in exchange for an honest review. All opinions are my own.
Tie-dye can be so fun and always seems to come back on trend. We have had fun making our own tie-dye shirts and more. Today we are going to share note cards and gift wrap that both have tie-dye designs. Let's start with the Tie-Dye Note Cards.
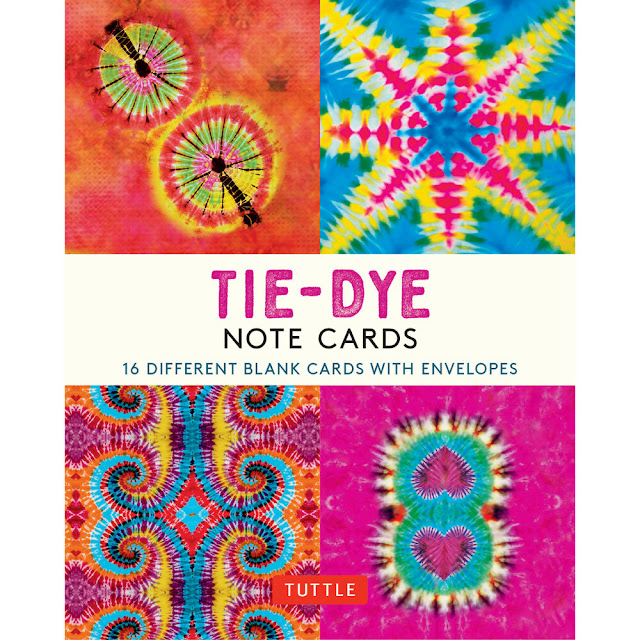
Now I always love having note cards on hand. They are great for just about anything from a birthday card to a sympathy card or just letting someone know you are thinking about him/her. I actually sent one of these tie-dye cards to a boy in the hospital in Tennessee that is hoping to get mail from all fifty states. This pack has sixteen cards and each one has different prints.
The envelopes also have some of the tie-dye designs on both sides. They are colorful. My only issue was trying to fit a long address in between the designs.
Since the tie-dye colors are the same for all the cards the envelopes match all the cards. What a fun card to send someone and know they will smile when they open it. Plus six of these designs are also used on the Tie-Dye Gift Wrapping Paper.
This packet comes with twenty-four 18 x 24 inch sheets. There are six designs, so you get four sheets of each. The packet is like a folder that will keep the papers nice and neat until you are ready to use them.
Now obviously the first use of these are to wrap gifts. I wrapped this gift for a friend's daughter that turned ten in May. I had to use two sheets to cover the larger box.
I love that the colorful papers can be used for kids or adults. They are so fun and cheerful and everyone seems to love tie-dye! Here is a sample photo of a gift.
Now a few weeks ago I shared a homemade gift bag when I reviewed a book. I used one of these wrapping papers.
I used the tutorial I made this one with but refined it to be more professional looking. Supplies you will need are a wrapping paper, a box roughly the size you want the inside of the bag to be (or what your paper will cover), double-sided tape, glue, scissors, hole punch, matching ribbon and a piece of cardboard or cardstock.
Since I am using a pre-cut piece of wrapping paper I was restricted to the size my bag could be. If you are using one from a roll you have more options. Take your piece of paper white side up and long side horizontal and fold the top down a few inches (3-4). Use some glue to glue the flap down.
Now put the box on the white part of the wrapping paper. Put it off center so that one side will just meet the top of the box. Play with it to get it correct.
Use double-sided tape along the edge. My double-sided tape has a red cover on it before I reveal the sticky part. It is a super double-sided tape. I got it when I worked at Paper Source. It is the only tape that would work with their glitter wrapping paper.
Connect the sides into a loop. Do not make it super tight or you will have trouble getting the box out. (I made this mistake.) Fold down the bottom like you are going to wrap the box. I used a little glue on the flaps.
Use double-sided tape to close the flap.
Now store bought gift bags always have a stabilizer in the bottom of them. I wanted to make sure I put something in to stiffen the bottom of mine. I hadn't in the first one and it wouldn't stand on its own. I traced the box I used onto a piece of cardstock. Cardboard would also work. Cut it out and stick it into the bottom of the bag. Now you know things will not break the bottom of the bag!
Now punch holes for the ribbon. You want two holes on each of the longer sides. Try to space them evenly on both sides. I used a larger hole so it would be easy to get the ribbon through the holes.
Cut two equal lengths of ribbon. Since I used larger holes I thread the ribbon through and then tied the ends inside the bag. Put one ribbon on each side.
Now you have a gift bag to use for that gift that may be hard to wrap and it can be from the paper you fell in love with! Happy wrapping!
I love the quality of the wrapping paper and the fact that you can match the cards to the wrapping paper. I hope you will check both products out!


