Google+
Showing posts with label patriotic. Show all posts

Patriotic Wreaths and Candles

As you know we have been working on decorations for our Fourth of July Barbeque. I need to extend an apology to all my readers who are not Americans--I know this may be getting boring for you. I'm hoping you can take some of these ideas and use them for your own parties with changes. This week we took some empty jars and Mod Podged some tissue paper on them. 

Hazel did one with squares of red, white and blue tissue paper (I added some sparkly ribbons to the top and bottom), and I helped her with one to look like fireworks. My idea was to have many colors on the underneath layer, but she only wanted to use pink. We did not have a navy or black piece of large tissue paper so I cut a firework design out of purple and Mod Podged it over hers. Then I added some glitter glue after it all dried.

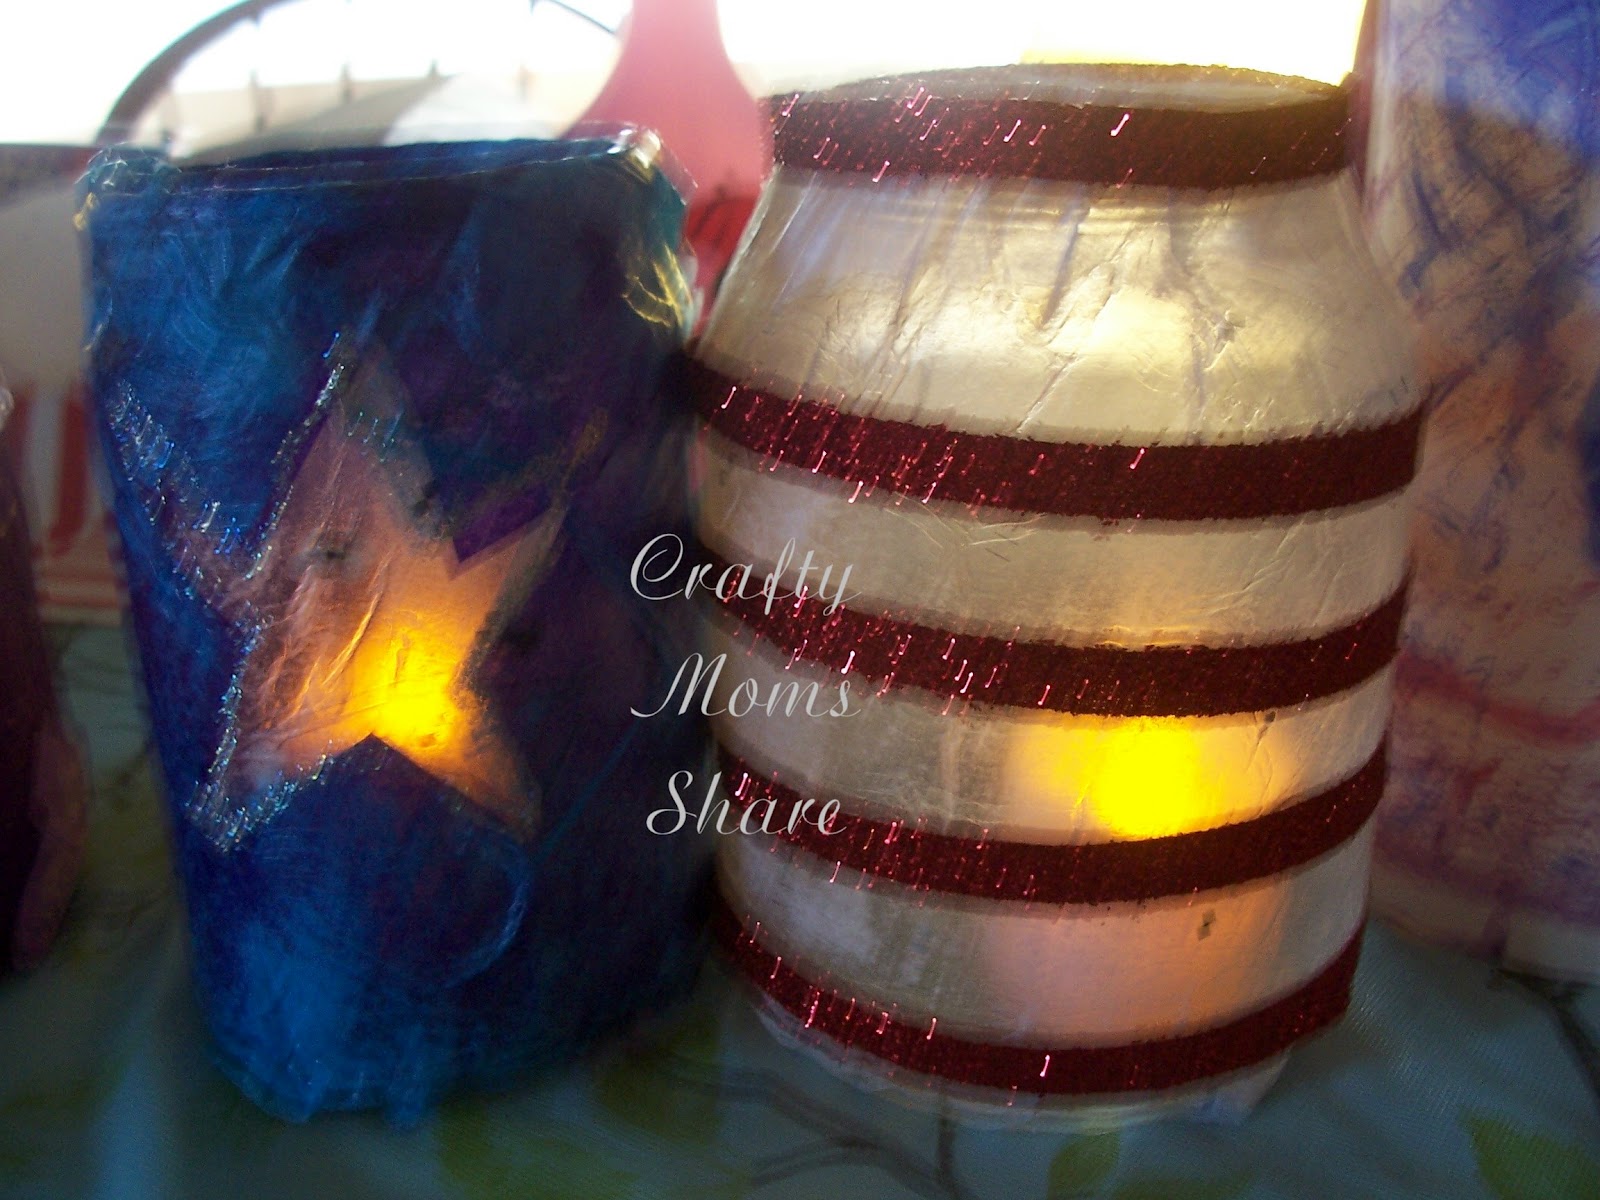
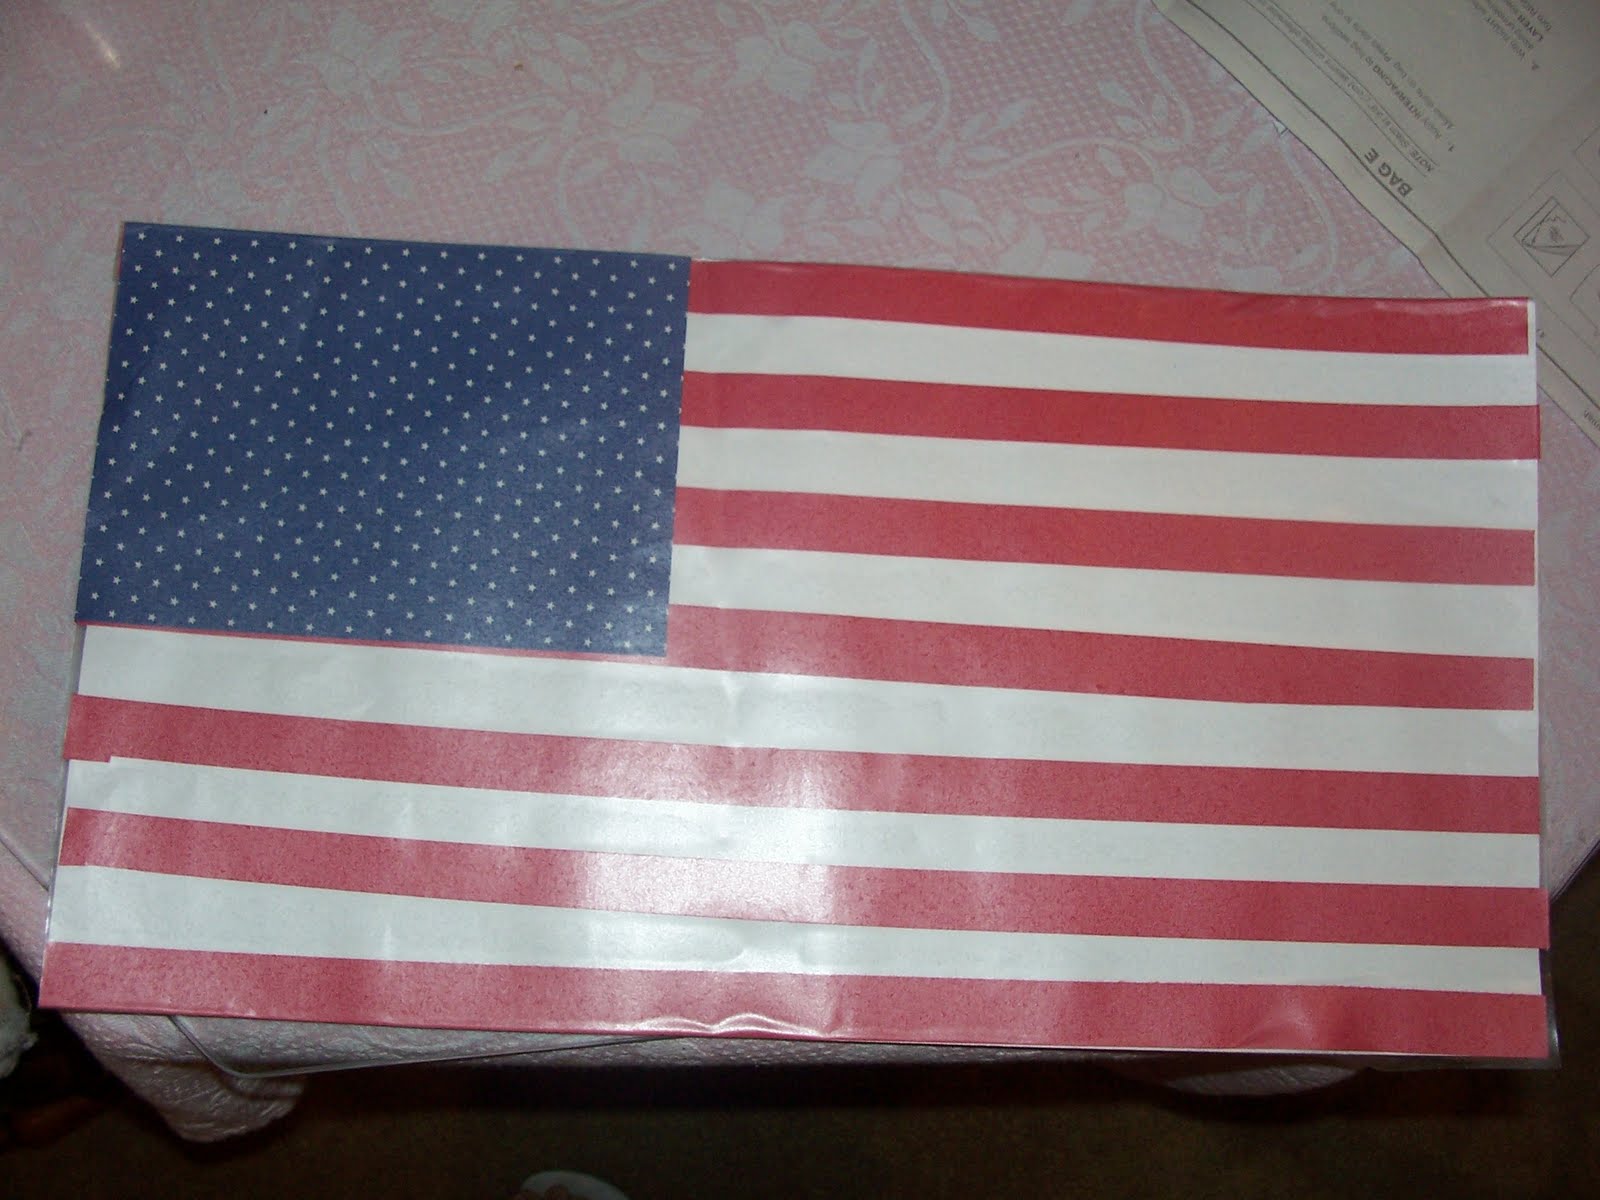
I made a navy one with a white star. I covered the jar in white and then combined the purple and turquoise to make a navyish color and cut out stars and Mod Podged them over. I outlined the star with glitter glue. Then I covered a jar with white and added stripes of red sparkly ribbon. This was actually my second attempt. My first attempt of the red and white striped (with a bit of blue starred scrapbook paper) did not turn out as planned. Then I thought of the ribbons.
My first attempt
Then I spent Friday afternoon working on a couple of wreaths. You may remember the spring wreath I made for us and the red, white and blue one I made for friends. I'm going to make some red, white and blue pinwheels tonight to change ours over. 

In addition to that, I made one starting with a straw wreath. I hot glued red, white and blue silk flowers to it. (I bought all of the flowers on sale/clearance or at The Dollar Tree). Then I added some ribbon going across the center and hung some sparkly stars in the center. This is on our front door now.

For the next wreath, I started with a flat wreath made of cardboard or that other type of board. I can't think of the name of it right now. I wrapped some patriotic ribbon around it. I bought two rolls of the ribbon on sale at Michaels this week. Each roll had three yards and I needed the second roll. Then I wrapped some metallic star garland around it. It filled it in nicely. Since we have four doors I can decorate (three off the patio and our front door) I may make another one as well. I still have another straw wreath to work with. I'm thinking of just wrapping the "Let Freedom Ring" ribbon around it and tying a bow.

This is where I share...

Salad Spinner Firework Art

This morning we had the best time making firework paintings. I found on Pinterest Mom's Crafty Space: Salad Spinner "Fireworks" Tutorial. I figured I had an old salad spinner that leaked and Hazel loves using it, so why not. We added water to her red and blue paints including her red sparkle paint. We also added our own touch with some glitter at the end.
 I gave her old medicine syringes to add drops of color. She had two different shades of blue and red and we did them on paper plates. She dropped the colors on the plate in the spinner. One red was almost empty so we just added water to the bottle and used the squeezer. It got a little more liquidy than the others.
Then she spun it. She loves this.
Then she loved pushing the stop button and checking how it looked.
Then we added glitter. Another favorite activity for Hazel.
We made large plates and small plates. I took all the small plates and added letters/words to say "Happy 4th of July!" Punched a hole in them and made a banner for the mantle. The large plates I am thinking of putting "Freedom" on and hanging them on our outside stairs for our barbeque.
After spin art we tried marble painting. We tried it on plates, but didn't totally like it. You can see the small plate above with "of" on it. We tried it on white paper.
Then we did some handprint fireworks. Hazel did not quite get the idea of them, but we had fun. We added glitter to make it a little more realistic.


We have some more ideas for painting fireworks, but they will have to wait for another day.

This is where I share...

Fourth of July Decorations

Source
Traditionally Steve and I have invited a few friends over for the Fourth of July. We do not usually bother with fireworks or dealing with the crowds. (Although many of our neighbors put on their own shows which are sometimes even better than the professional ones.) Now that we have Hazel we tend to invite friends with young children. Hazel and I start preparations for the barbeque by making decorations. (To see a few of our ideas from last year click here.) Last year Hazel was very afraid of the wind after our Father's Day painting incident. We actually had to move the party inside because she threw a fit about our decorations being outside and being afraid they would blow away in the wind. This year I'm thinking about more heavy decorations.

I bought a navy frame at Michaels on clearance and found some red and white striped scrapbook paper there as well. I cut the scrapbook paper to be part of the United States flag and mod podged it on. Then we put stickers on the navy part that was still showing and we added a USA sticker to the stripes. Then we framed this great printable I got from Lolly Jane. It is in the image of the United States flag but has the names of  the states in alphabetical order for the stripes. She has free printables in different color combinations. When I saw it I knew I wanted to do a project like this. We will use it as a decoration and then Hazel wants it in her bedroom.
Then we also made some holders for our plasticware. We used some frozen juice containers. (They were Welch's brand and made of plastic.) First I covered each one with white paper since the purple from the grape juice label (which was not removable) was so dark. I just Mod Podged the paper on.
Then I cut scrapbook paper to fit around each one. I did one in the red and white strip and one in navy with white stars. After coating them with Mod Podge I left them to dry over night. We added sparkly ribbons today and stickers to one. I like how they came out.
We have some more decorations in the works. Stay tuned. Do you have plans for the Fourth?

Oh, and a great activity for the kids for the Fourth. Squidoo has free patriotic clip art images including an American flag to color in. Stay tuned for more ideas for things for the kids as well. I have many in my mind and pinned.

This is where I share...

Memorial Day


Ok, I know I'm a day early, but I have lots going on tomorrow so I wanted to take some time this weekend to remember what our holiday tomorrow is about.

For those of you not in the USA, the last Monday of May is our Memorial Day. It is a day to honor all the men and women who have fought for our country and gave the ultimate sacrifice.

So please take a moment to remember all of our soldiers and say a prayer for them and their families. And especially for the families of our fallen heroes. I know I have a hard time imagining what it would be like and I feel for them.

Memorial Day Weekend often is seen as the unofficial start of summer here in the States. I often think we forget why we celebrate these holidays between our cook-outs, parties, and swimming. So I am taking this break to remind you and to say a prayer myself. 
Dear God, Please let us remember the sacrifices so many brave men and women have made for our freedom. Please be with their families and bring them strength and healing. Please keep our soldiers and their families safe. Please let our soldiers return home to their families soon. Bless each of them for they are doing their best to protect us. Please help us find a way to put our differences aside and make peace on earth. Amen.
I wish you and your family a very Happy and Safe Memorial Day!
 
Here is a simple Memorial Day craft...a placemat made with clear contact paper, stickers, felt stars, red and white stripes, scrapbook paper.
For some other patriotic ideas you can check out what we did for the Fourth of July last year. And for even more ideas you can check out my Patriotic Pinterest Board.

Felt Wreaths for Spring

So on Friday, I had a regular doctor's appointment. I had mentioned it to my mother-in-law in passing and she jumped at the chance to have Hazel over. I thought it was just for the appointment and that day she let me know she wanted Hazel for the day. So much for my plans for the day. It caused a bit of friction, but our relationship is rocky to begin with so I didn't want to make it worse. I decided I should do something for myself instead of just doing one of the many chores on my to do list. The night before I had seen a great project on Pinterest. I traced back the original to Loopy Loop Creations (not sure how I missed the original post). Here is what I made.
Hazel loves pinwheels so I thought this would be perfect for our front door. I followed the tutorial on Loopy Loop Creations for the first one, but I got to thinking since I was pinning the pinwheels on why not make a red, white, and blue one for the summer holidays and also made one for our friends who had their daughter Memorial Day weekend and her first birthday party is red, white and blue themed this memorial day. For these I decided to sew the pinwheels instead of hot gluing. It took a little longer, but I like them better. Using the hot glue you could easily do these out of paper and onto a paper plate ring.
To sew the pinwheels start in the same way with a 4 inch square with slits on the diagonals.
With a needle and thread stick it through the middle of the square and fold one corner onto the needle.
Then fold the next corner onto the needle.
Repeat with the other two corners and take a small stitch.
Then sew a button onto the middle of your pinwheel. (Sorry for the blurry picture.)
Now you pin them onto a stryafoam wreath in whatever order you want. I found that I used 18 pinwheels on the 9 inch wreaths. Then you can change it to whatever colors fit the season.
I had some extra felt pinwheels so I pinned one onto an unsharpened pencil for Hazel to have one. It doesn't twist real easily, but she likes it.
This is where I link up...

Fourth of July Crafts and more!

Ok, I finally got around to taking more pictures of the crafts we used at our party. First the crowns which I posted a picture of yesterday. I got the idea from Disney's Family Fun Magazine. Instructions on them are found here. I have to say of all the parenting/family magazines I get (and I get many of them) this is my favorite because it has easy crafts to do with kids and they have a special section for subscribers with younger children.

Now for some of the other crafts we did. First is the placemats which we didn't actually use, but the kids made their own. I got this idea from a craft Hazel did at the local library for flag day.
 I had cut all the paper for the kids so all they had to do was glue the red stripes on and they had plain blue construction paper with star stickers, so they could give a little variety to their own flags. Then we covered them with clear contact paper to make them placemat worthy.

Next are paper windsocks. I originally had a group of these hanging from our clothes line over the patio. Of course Hazel was sure they were going to blow away and insisted on us bringing them in. The kids enjoyed making these though. The easier ones are pictured here. I used blue star scrapbook paper (the leftover parts from the placemats) and red and white crepe paper. This idea was adapted from the Little Hands Book on America. For the 12 inch strip we used 6 pieces of crepe paper, but could have used 7 if we didn't want them alternating. Each of the kids made their own to take home.
 This is the harder version. Hazel and I only made one this way. I printed white stars (using Word's shape drawer) on paper and cut them out. We glued them on to blue construction paper and then glued the crepe paper on to the bottom and then made it a tube and added the yarn to hang it with.
 I also had printed out free coloring pages with Fourth of July themes from on line and melted down red, white, and blue (and silver) crayons in a star muffin pan for each child. These are some of them on the flag Hazel made at the library. I found instructions on recycling broken crayons on-line and in books--melt small pieces of crayon in sprayed muffin pans at 275. Keep a close eye on them as they can melt quickly but around 10 minutes (less if they are not filled well). I also made Hazel some rainbow round crayons with all the broken crayons we had (and some from the packages I bought to get enough red, white and blue). She loves them. She plays with some at the library as well. At the library, she has been known to build towers with them since they have so many more. The librarian melted down the crayons by color so each one is a different color versus my rainbow idea.
Well that is all the promised Patriotic crafts I have for you. Now off to sew some more. Hopefully I will finish the outfit and get Hazel to wear it so I can take a picture of it.

Good night!
Carrie

Sorry it has been awhile...

Well we had an interesting BBQ for the Fourth of July. Hazel has become paranoid that anything and everything will blow away in the wind after our Father's Day painting disaster. She threw a tantrum until we brought everything in and everyone in. So our BBQ became an inside party where poor Steve went out and cooked by himself. The kids however had fun playing and making crafts. I of course forgot to take pictures while the decorations were up (I was planning on taking them during the party). But I do have one of Hazel and her friend with the firework crowns on.
On the actual fourth of July we went to Drumlin Farms. Steve had not gone with us yet, so it was nice to take him and have a relaxing day. While there, I picked up a very inexpensive book Let Nature Be the Teacher by Lucille N. Gertz. To check it out try this link. I cannot wait to go on some of the nature walks with Hazel and do some of the different activities. Some will have to wait until she is a bit older, but I want her to be more comfortable outside and with bugs and animals than she is now, so we better get her use to it.

Well, I'm off to sew some clothes for Hazel. I quickly made her a doll sling this week. I followed somewhat the instructions on Domestic Dork. I used my serger though so I did rolled hems for the edges. So far Hazel doesn't like wearing it, but I'm going to keep trying. I want her to carry Ducky in it so I won't keep having my hands full when we are out and she wants to touch something.

Good night! Please let me know what you are up to. I'm hoping we will begin sharing ideas here.
Carrie